Wednesday 27 March 2013

WOYWW 199

Just a quickie today from me as always as have the usual wed driving lesson to attend.
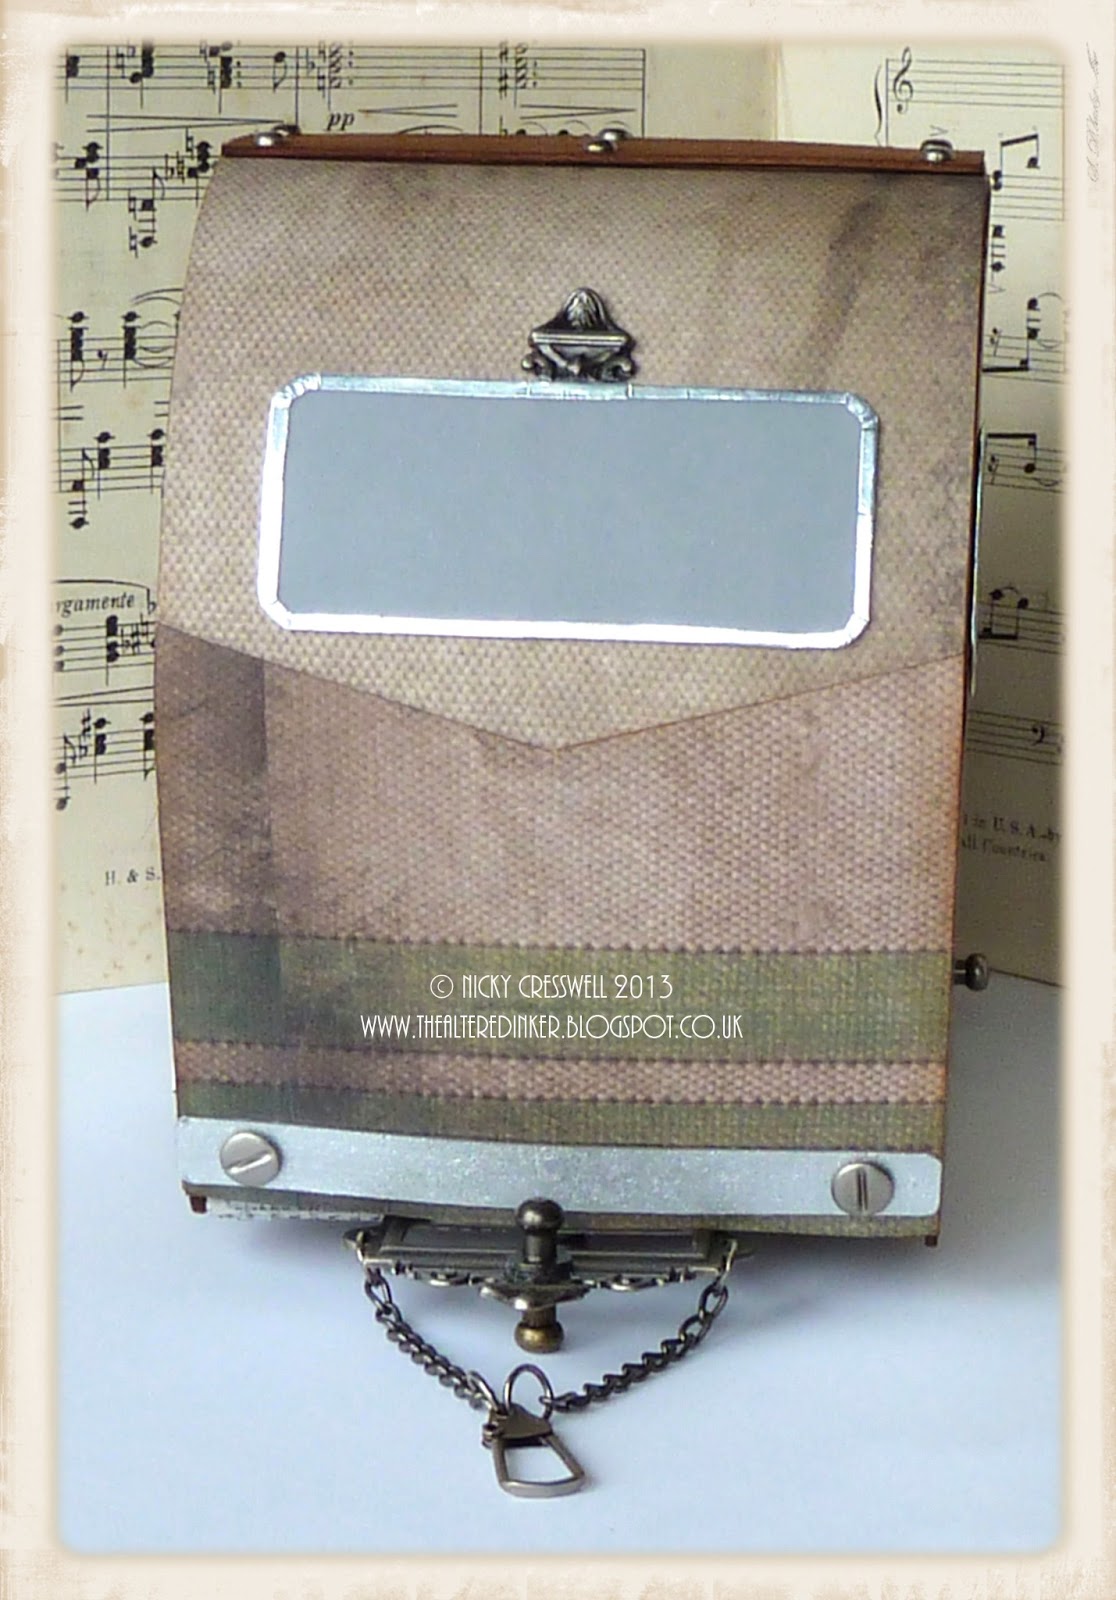
My desk is a bit messy but it is mid flow on a project.. Unfortunately I've had to blur the project as I can't show it yet, but there are some bits on show!!
Other things you might spy are a couple of late birthday cards I received and they've just not made it to the front room display yet, choc biscuits and behind that some Vivienne Westwood perfume {another birthday gift}.
You'll be able to see the covered project next week as that's when i'll be blogging it.
Right I best pootle off and get myself ready.
Have a wonderful wednesday everyone xo
Stay Inky
 photo fw22393_zps92c938d9.gif

Thursday 21 March 2013

One Life..Live It!

So I decided I wanted to partake in a couple of challenges and the one's that caught my eye this week were Sunday Stamper. Hels has a 'Brown' theme and I love me some brown shades,
and Crafty Emblies with there new 'no theme' policy.
I have a bit of a new addiction at the moment, Alarm clock Art!
Basically using the Tim Holtz tick tock alterations die and several layers of corrugated card {namely my cat food boxes} i've been making quite a few of these little beauties.
Credit where credit is due.. I was inspired after seeing a utube by Bona, though i've made mine slightly different to the way she makes her's. And since making this one i've done them different again {but I won't go into that now}
 I've used Bo Bunny's 'Et Cetera' papers, a selection of punched out leaves and wild orchid crafts roses.
along with Crafty Emblies wooden pieces, an idea-ology key and a bit of old doily lace, oh and some chit-chat stickers. The edges were covered with micropore tape, trimmed and given a coat of 'mocha mousse' fresco finish paint.
I will apologise now if my blog becomes a wash with these little criters, but they are just so much fun to make, and if I make um I just know you're all gonna wanna see um! So don't say you weren't warned!! lol
Till the next one..
Stay Inky
 photo fw22393_zps92c938d9.gif

Tuesday 19 March 2013

Faux Airbrushing!

Craft Stamper have a Bi-monthly challenge over on there blog called 'Take it,Make it'.
Basically you take a technique from the Craft Stamper Magazine, this time it's 'Faux Airbrushing' from the March edition. And then you make something!
I opted for a card.
 I used a chevron stencil {cut by my friend Fi, on her silhouette} for my faux effect, I used 'squeezed lemonade', 'mustard seed', 'dried marigold' and 'fire brick' distress ink.
 I then stamped with Sam Poole's ghetto blaster from the 'Urban Beats' plate, Direct to the card, and also twice onto plain card so I could cut and layer it up.
I gave it a coat of glossy accents to make it more realistic.
I was in 2 minds about putting a sentiment, so left it blank, I can always add at a later date if I need to.
I had a couple of other attempts at the technique before I was happy with the final card.
Here is one that just didn't have enough pow for me.
I used 'pumice stone' and 'black soot' along with my own handmade stencil, and some kaisercraft stamps.
I found the larger the area to be faux'ed the harder it was to get a nice finish.
Right that's me for today.. Off to do my good samaritian bit in the charity shop.. Ta Ra and thanks for stopping by x
Stay Inky
 photo fw22393_zps92c938d9.gif

Saturday 16 March 2013

Creativity Venture 2013

Well February flew past in the blink of an eye and I neglected to get my challenges done for an online group i'm part of, So playing catch up I got to work on my Feb Personal Challenge first.
I was given instructions on a 3 part sampler
Working to the plans above and instructions as to what to add for each colour this is what I ended up with.
 Comprising of a number of techniques, for example the black/blue numbers is texture paste & pan pastel, the blue/white next to it is a faux enamel with ink and embossing powder.
There is alcohol ink, gilt wax, dry embossing, stencilling, stamping, dripping, spraying and fabric.. and the list goes on.
I built up the layers {some with foam tape} and then added black pen round it all to bring the whole piece together. I think if I were to try this again I would do it in shades of 1 or 2 colours but for this I just went colour crazy which is quite unlike me, i'm trying to broaden myself artistically!
So that's 1 challenge down, now on to making a start on the group challenge, I'll be back to share it when it's done.
Thanks for visiting x
Stay Inky
 photo fw22393_zps92c938d9.gif

Thursday 14 March 2013

Totally Tattered!

Of the floral variety that is.
I finally finished my entry for the Tim Holtz Tattered Floral Challenge.
I only took me.... like..... 3 days!!!!!
I call it Curiosity 4 Adventure.

I started by gluing together a couple of MDF cogs I had left over from my Snazzy's DT kit last month,
Painted them with 'irish cream' fresco finish paint, then a coat of the fresco crackle followed by 'snowflake'  fresco on top.


My tattered floral's were cut from greaseproof paper, terminology tissue wrap and some netting, with many layers to each so that when crumpled it gave them nice volume, I also gave them a quick inking with 'brushed corduroy'.
 I used some of the lost and found papers to back some of the cogs circles.
Along with a vintage doily and clock charm {the perfect fit once I snipped off the ring bit at the top}
I took some more elements from the lost and found papers, distressed and inked the edges and assembled together, adding some film strip ribbon and a die-cut elegant swirl that I stamped with the large stamp from the I see Paris set. 
Finishing touches: A prima word bulb, mini eiffel tower charm, vintage eye glass, idea-ology numeral and crown charm and some chit-chat stickers.
And I have the whole thing resting on a mini easel, I did contemplate making it into and wall hanging but i'm still undecided.
Right that's me done.. Got volunteering this morning.
Have a great weekend and thanks for visiting x
Stay Inky

 photo fw22393_zps92c938d9.gif

Wednesday 13 March 2013

It's All in the Name!

Or in this case the name plate.
You may remember back in january I made a couple of name plates, well i've been at it again this time for my lovely friend Gillian.
It took me a while to capture the essence of what I thought she might like but finally the light bulb flicked on and here is the end result.
I started by giving the wooden base a coat of 'mocha mousse' fresco finish paint, I then stamped some script {a PaperArtsy mini} randomly over the whole thing, and rubbed some treasure gold over the edges.
 I stamped the letter tiles with a Tim Holtz phrase, and edged the tiles with more treasure gold and highlighted the letters with a white posca pen.
I embellished with a selection of Tim Holtz {stamped and cut out} gentlemen and pointy finger images and some steampunky charms from my stash.
I hope you like it Gilly, I'll be bringing it to ally pally with me xx
can't wait to see you and catch up x
***
I'm entering this in the Three Muses 'Steampunk' Challenge.
Stay Inky
 photo fw22393_zps92c938d9.gif

Monday 11 March 2013

Not Too Shabby!

So today over on the Simon Says Stamp'n'Show blog they have a 'shabby chic' theme.
Being that when i'm not doing grungy things my next favourite style is white lace and shabby, I leapt on the challenge like a lion to a gazelle.
I've used some Wendy Vecchi  art parts and a mini domino at the bottom to keep the legs apart and to enable the piece to stand.
Nothing too tricky, just a coat of 'snowflake' fresco paint, some highlighting with 'white fire' treasure gold wax, some stamping and floral arranging.
Sorry the pics are a bit fuzzy, the light is just terrible at the moment for picture taking.. Oh how I wish for some sunny warm spring days!!!
Thanks for visiting x
Stay Inky
 photo fw22393_zps92c938d9.gif

Thursday 7 March 2013

Campin It Up {pic heavy}

About 3 weeks ago I happened upon a live stream hosted by Darcie and her sister Johnna,
aka The Scrappy Camper Sisters.
Johnna had made an AMAZING little scotty camper and as soon as I saw it I just knew I had to make one.
She provided a free template to work from as well as the live stream. {I did alter the odd thing like window shape and wheel arch}
I finally got some photo's of my finished piece to share with you today.
I loved Johnna's use of the Tim Holtz 'destinations' papers so opted to use them too, though I used some plain green paper for the top and stamped the texture with an artistic stamper background stamp.
 For my windows I laid some parchment paper over black card and edged with foil tape.

 I added some red gem brads as tail lights, and a mini book plate as the numberplate with one of  idea-ology chitchat stickers in it. I somehow managed to snap off a bit of my idea-ology ornate plate but rather than throw it away I added it as a feature to the top of the front window.
I put my door on using actual mini metal hinges and added a little velcro to keep it shut.. I've yet to put any hidden message behind the door.
I added a Prima lightbulb as a nightlight {I scrapped off the word}
I also added a couple of eyelets and a tiny strip of velcro which I coloured green to blend in....WHY?  see below!
 I got a bit carried away with the whole project and made a few accessories. lol!
Namely the door step, awning and chair.
 I store all the accessories in the camper, but it's original purpose was for it to house a mini book or 2 which i've not got round to making.


So I would like to say a massive THANK YOU to Johnna {and Darcie} for this awesome project/ template.
I had uber fun making it and look forward to the next project/stream.
Thanks for stopping by.
Till next time..
Stay Inky
 photo fw22393_zps92c938d9.gif

Wednesday 6 March 2013

woyww 196

Sorry WOYWWers
This will be the quickest desk post in history.. I woke up late, I have a driving lesson in 5 minutes and here is my un-inspiring desk

Sorry for the bad pic, it's done with my overhead webcam.
I'll try and get a better pic later when i'm back from my lesson.{This is now the updated pic, with extra cuppa and stencil designs i'm about to cut with the help of a junk mail catalogue, Because I have no funds right now i'm making my own. You just find the poses you like, cut them out, paint them black to see how they will look and then they're ready to hand cut out of plastic, I use thin divider folders}
As for the poppies from last week if you wanna see what happened to them they are HERE.
Right I gotta go.. Catch ya all later x
Stay Inky
 photo fw22393_zps92c938d9.gif

Tuesday 5 March 2013

A Country View

Country View Crafts have launched a brand new Challenge blog which is awesome as I absolutely love their online store.
For their first challenge they have a 'Pick & Mix' theme.
So with permission to go make whatever I pleased, I gathered up the poppies I had made last week with my Tim Holtz tattered pinecone die and got to work on a canvas.
I first glued a circle frame art part to the canvas and gave the whole thing a coat of gesso.
Then I got to work tissue texturing the whole thing. I was inspired after watching Laura's use of tissue paper to create some great texture on books but I wanted a much lighter look.
After the tissue stage was dry I gave the whole thing another coat of gesso, then used several of my 'green' distress stains to colour the area.
I then did a bit of stamping direct onto the canvas, and also some stamping on tissue so I got a nice crisp image of the butterflies.
I did more distress staining and stamping onto a scallop art part.
Cut some circles with my nesties dies, and did some watercolour stamping.
I then put it all together and voilà, the perfect country view.
I had tons of fun making this and very much look forward to the next challenge.
***
I'll be back tomorrow with my regular ritual of desk hopping.
Stay Inky

 photo fw22393_zps92c938d9.gif

Saturday 2 March 2013

Last Peek!

Hay Peeps..
So you're getting this a day late as for some reason unbeknown to me the post didn't go up yesterday..
Now whether that was me or blogger I couldn't rightly say.. probably me with the week i've had!
Anywho.. here is a quick peek
My 3rd and final project using the beautiful Engraver Collection by Prima
is live over on the Snazzy's DT now.
Stay Inky
 photo fw22393_zps92c938d9.gif